![]() Most of the information here is for Warzone 3.1 and above.
Most of the information here is for Warzone 3.1 and above.
Scanlines
Aubergine
Downloads
Download scanlines.png and place it on a layer above the main video elements on your timeline.
Why use them?
Scanlines make your screen recordings look more like a recording of reality. But how...?
Your brain likes to be proven right, so it's surprisingly easy to trick! So, if you see something and your brain thinks "Hey, I must be watching a video of a monitor that's playing back a video – because it has scanlines on it", your brain gears itself up for that to be true. When your brain starts noticing things that indicate it could be wrong, rather than accept reality it just lies to itself!
How to use them?
Import the scanlines image in to your movie and add the image to a new layer in your timeline. Adjust the image's timeline so that it runs through your video or however long you want it to.
Which layer do they go on?
The scanlines should be above video elements and below any major text captions, for example:
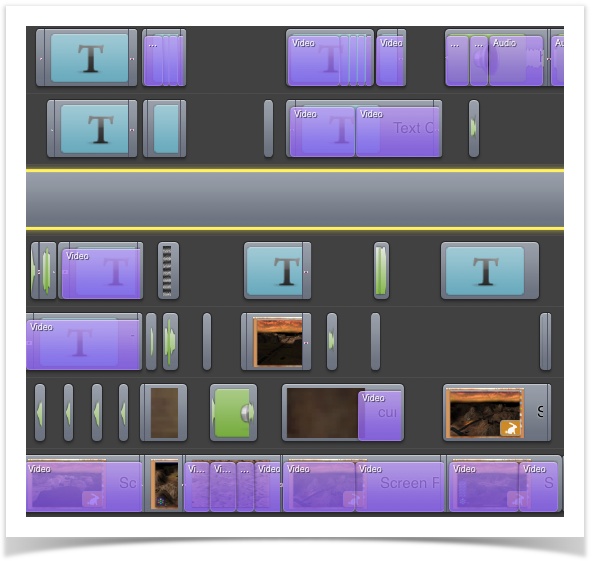
The timeline bar with the yellow borders is the scanlines layer.
Below the scanlines layer:
- Video (such as in-game video captures)
- Any text that is treated as if it was part of the video
- Any images that are treated like videos (eg. satellite images)
- Any "static" interference / white noise
Above the scanlines layer:
- Scene titles
- Narrative text overlays
Transparency
The scanlines image doesn't contain any alpha transparency – it's 100% opaque so you when you first add it to your timeline you'll get something like this:
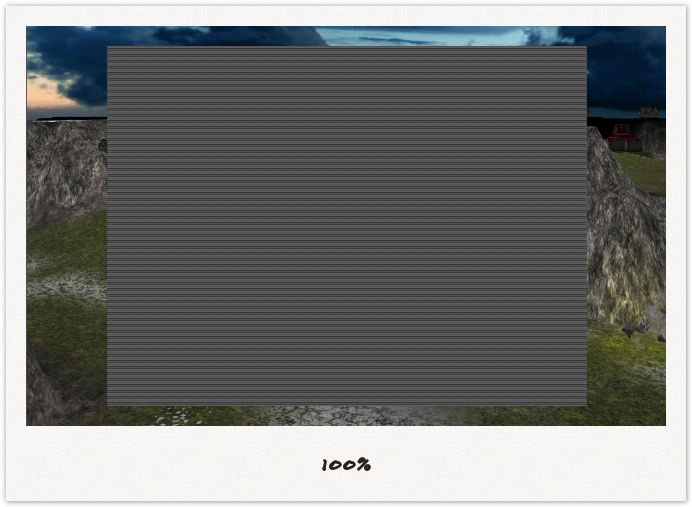
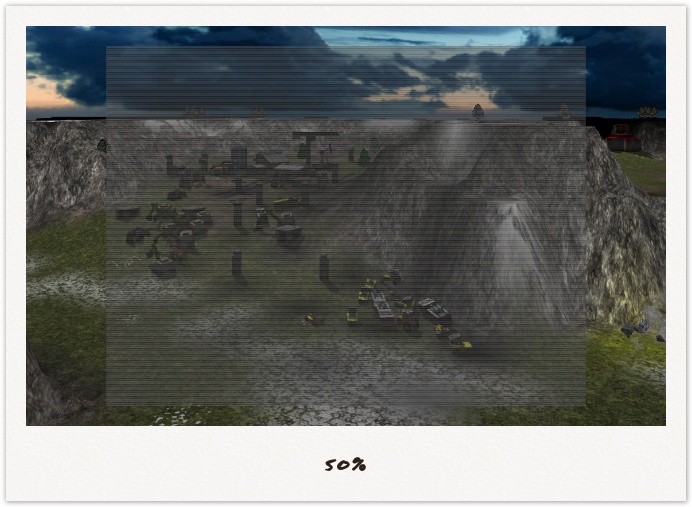
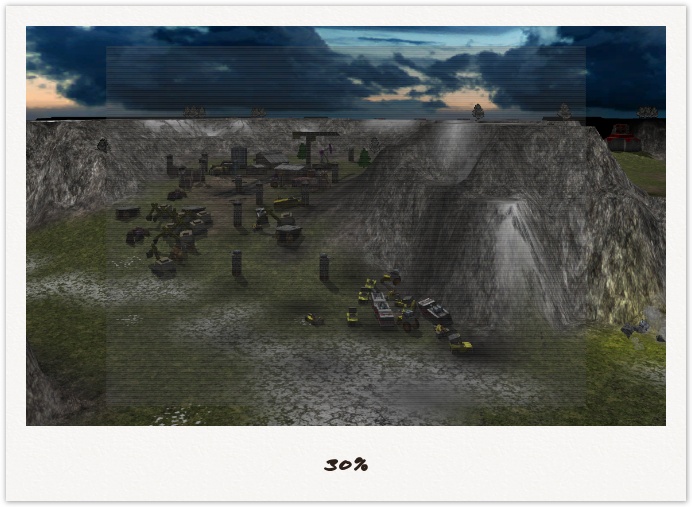
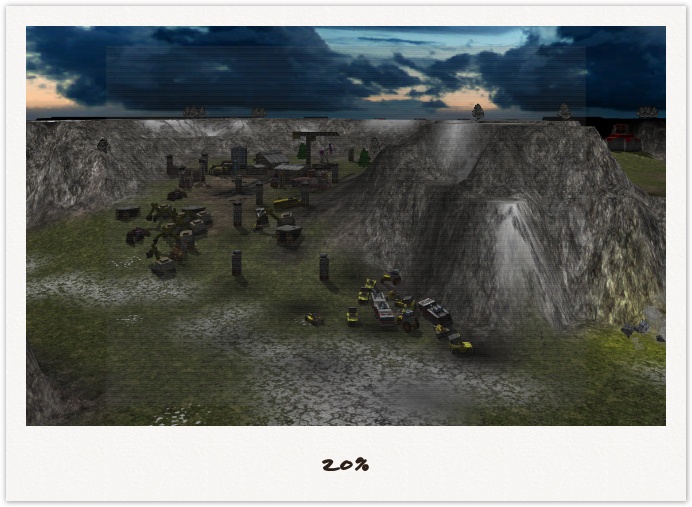
Alter the alpha transparency between roughly 30% (for darker scenes) and 40% (for lighter scenes) to let the other visual content show though. Some examples are shown below:
Scaling
The scanlines should be scaled so that they cover your entire work surface or viewport.
To avoid strange visual artefacts, you need to retain an aspect ratio of 1:1. I tend to scale in multiples of 50%, for example 150%, 200%, 250%, etc.
It doesn't matter if some of the scanline image goes outside your viewport, your video publishing app should trim the excess.
Examples
Here's some screenshots from one of my cinematics (click images to zoom):
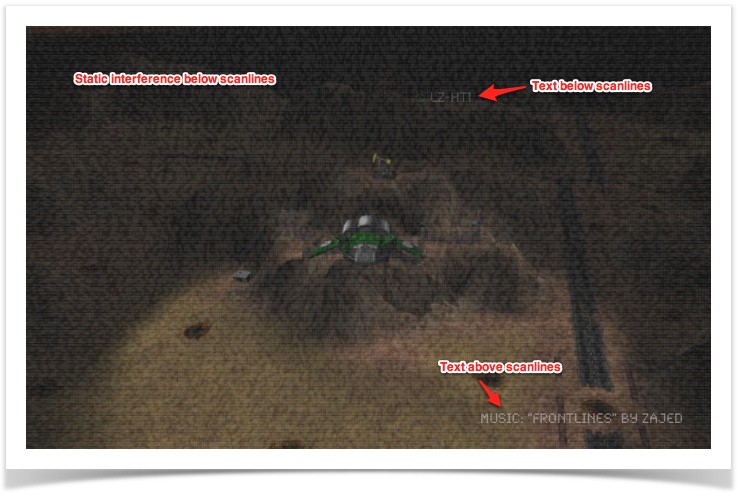
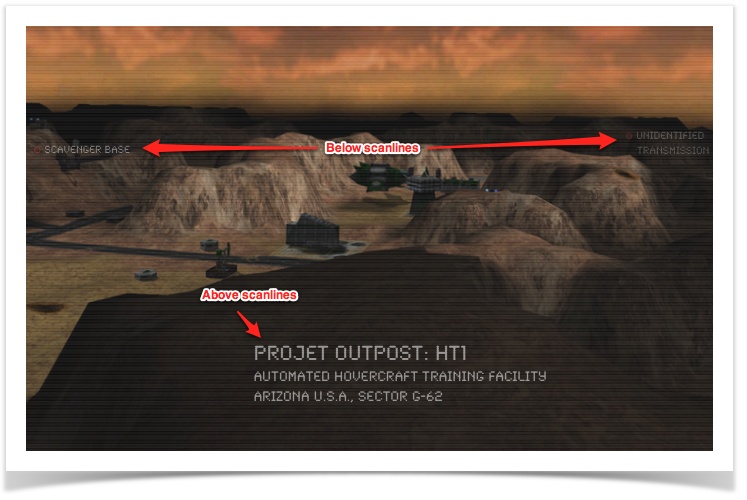
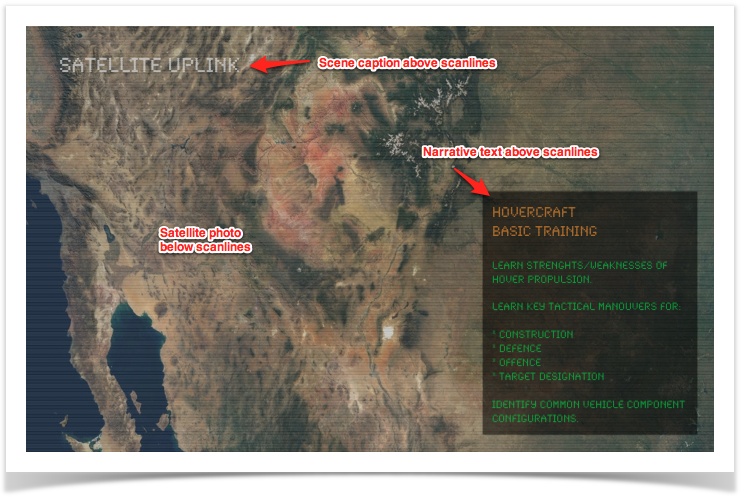
You can watch the video in Cinematic production snapshots.
Post-Processing
Other articles in this series:
- TV Static — Add TV static interference effects sparingly to add "gritty" realism to your cinematics...
- Scanlines — Trick your brain in to thinking it's watching a video of a monitor playing back a video...
- Spatial Expansion — This technique makes viewers more spatially aware of the "vastness" of your scenes...